Opportunity Knocks
So, you’ve got an art show coming up and you want to make sure it’s a fun and professional experience for all visitors. Maybe you’re hoping your art will make enough of an impression for some sales. Or you just want your work to be experienced to the truest degree. I’m going to walk you through the basics of getting that show ready for the public.
Making Your Selections

The first thing to figure out is what you are going to be showing. Wouldn’t be much of an art show without a selection of art to display. This process can rely on what kind of art you create and how much you’ve accomplished over recent years. Perhaps you have a series of works that are meant to go together – making this process a little easier. However, you might be doing more of a retrospective or a hodge podge of work that represents things you’ve made over the last decade or more. Or maybe you have enough recent work to fill a library, so you have to whittle down your options a little bit.
First thing, know what the goal is. If a curator is asking for specific examples of work that you have, then it won’t be as free-form as putting together an array of your work. Once you know your goal, the selections become easier. If your goal is to display lots of small intimate work, then it wouldn’t make too much sense to have large bombastic pieces everywhere. What’s the feel of your show? What do you want your viewers to leave reflecting on?
If you have a wide assortment of pieces that you just can’t decide between, it’s time to exercise those creative juices and decide upon a theme. Much like an artist might do when it comes to developing an idea from thumbnails to finish, you could break out the sketchbook and start jotting down ideas or sketching out thematic options. You will have to trust your gut when it comes to the harder choices. Remember, your work will be up for the public and you want it to be a reflection of all the things you love!
Putting Together the List

Once you have your selections, start putting it down in a list. This is going to help you wrap your head around what you’re showing. It will also give you the opportunity to title things that are not yet titled. Along with titles, you will want to put together whatever pertinent information there is for each piece, such as the dimensions, the year it was made, and the medium. If there are pieces that are on loan from any private collectors or institutions, you’ll want to indicate that by saying something like, “Courtesy of the Gallagher Family” or “Private Collection.”
This list is going to help you make sure everything has a name and set amount of information. It will build your confidence that you have what you need for the show. And it’s just a great way to compartmentalize and condense what might be an overwhelming amount of visual and mental information. Don’t put this off to the last minute because sometimes specifics can be hard to find or remember, such as dates and dimensions. This can also be a great time to start thinking about prices and placing them on the list, too.
Name it! And Write About it!

Name that show. What is going to summarize the work? This is up to you. My tendency is to keep the name simple. My most recent show was called “Discoveries.” This felt like a nice summation of the paintings I had on display and the logic behind my work. You can name it whatever you want, though, and in your own style. Perhaps you like more information or more vagaries. This is a creative element and you should own it.
Then you should write about it. Have an artist’s statement. I’ve read many a statement and there are so many that feel overwrought, overly impressive, hard to read or understand, etc. My advice would be “keep it straightforward.” Write down the most important elements. Then read through what you’ve written and rewrite it. I would aim to read and rewrite a good handful of times. You want to tighten everything up and present the ideas as clearly, yet artistically, as possible. Most artist statements I’ve seen end up being 3-4 paragraphs on one page. You want something that won’t take up everybody’s time. You may want this artist statement printed out on a number of takeaway papers or postcards, so that people can grab one and read it on the go, rather than standing in one place, reading from the wall.
Odds and Ends

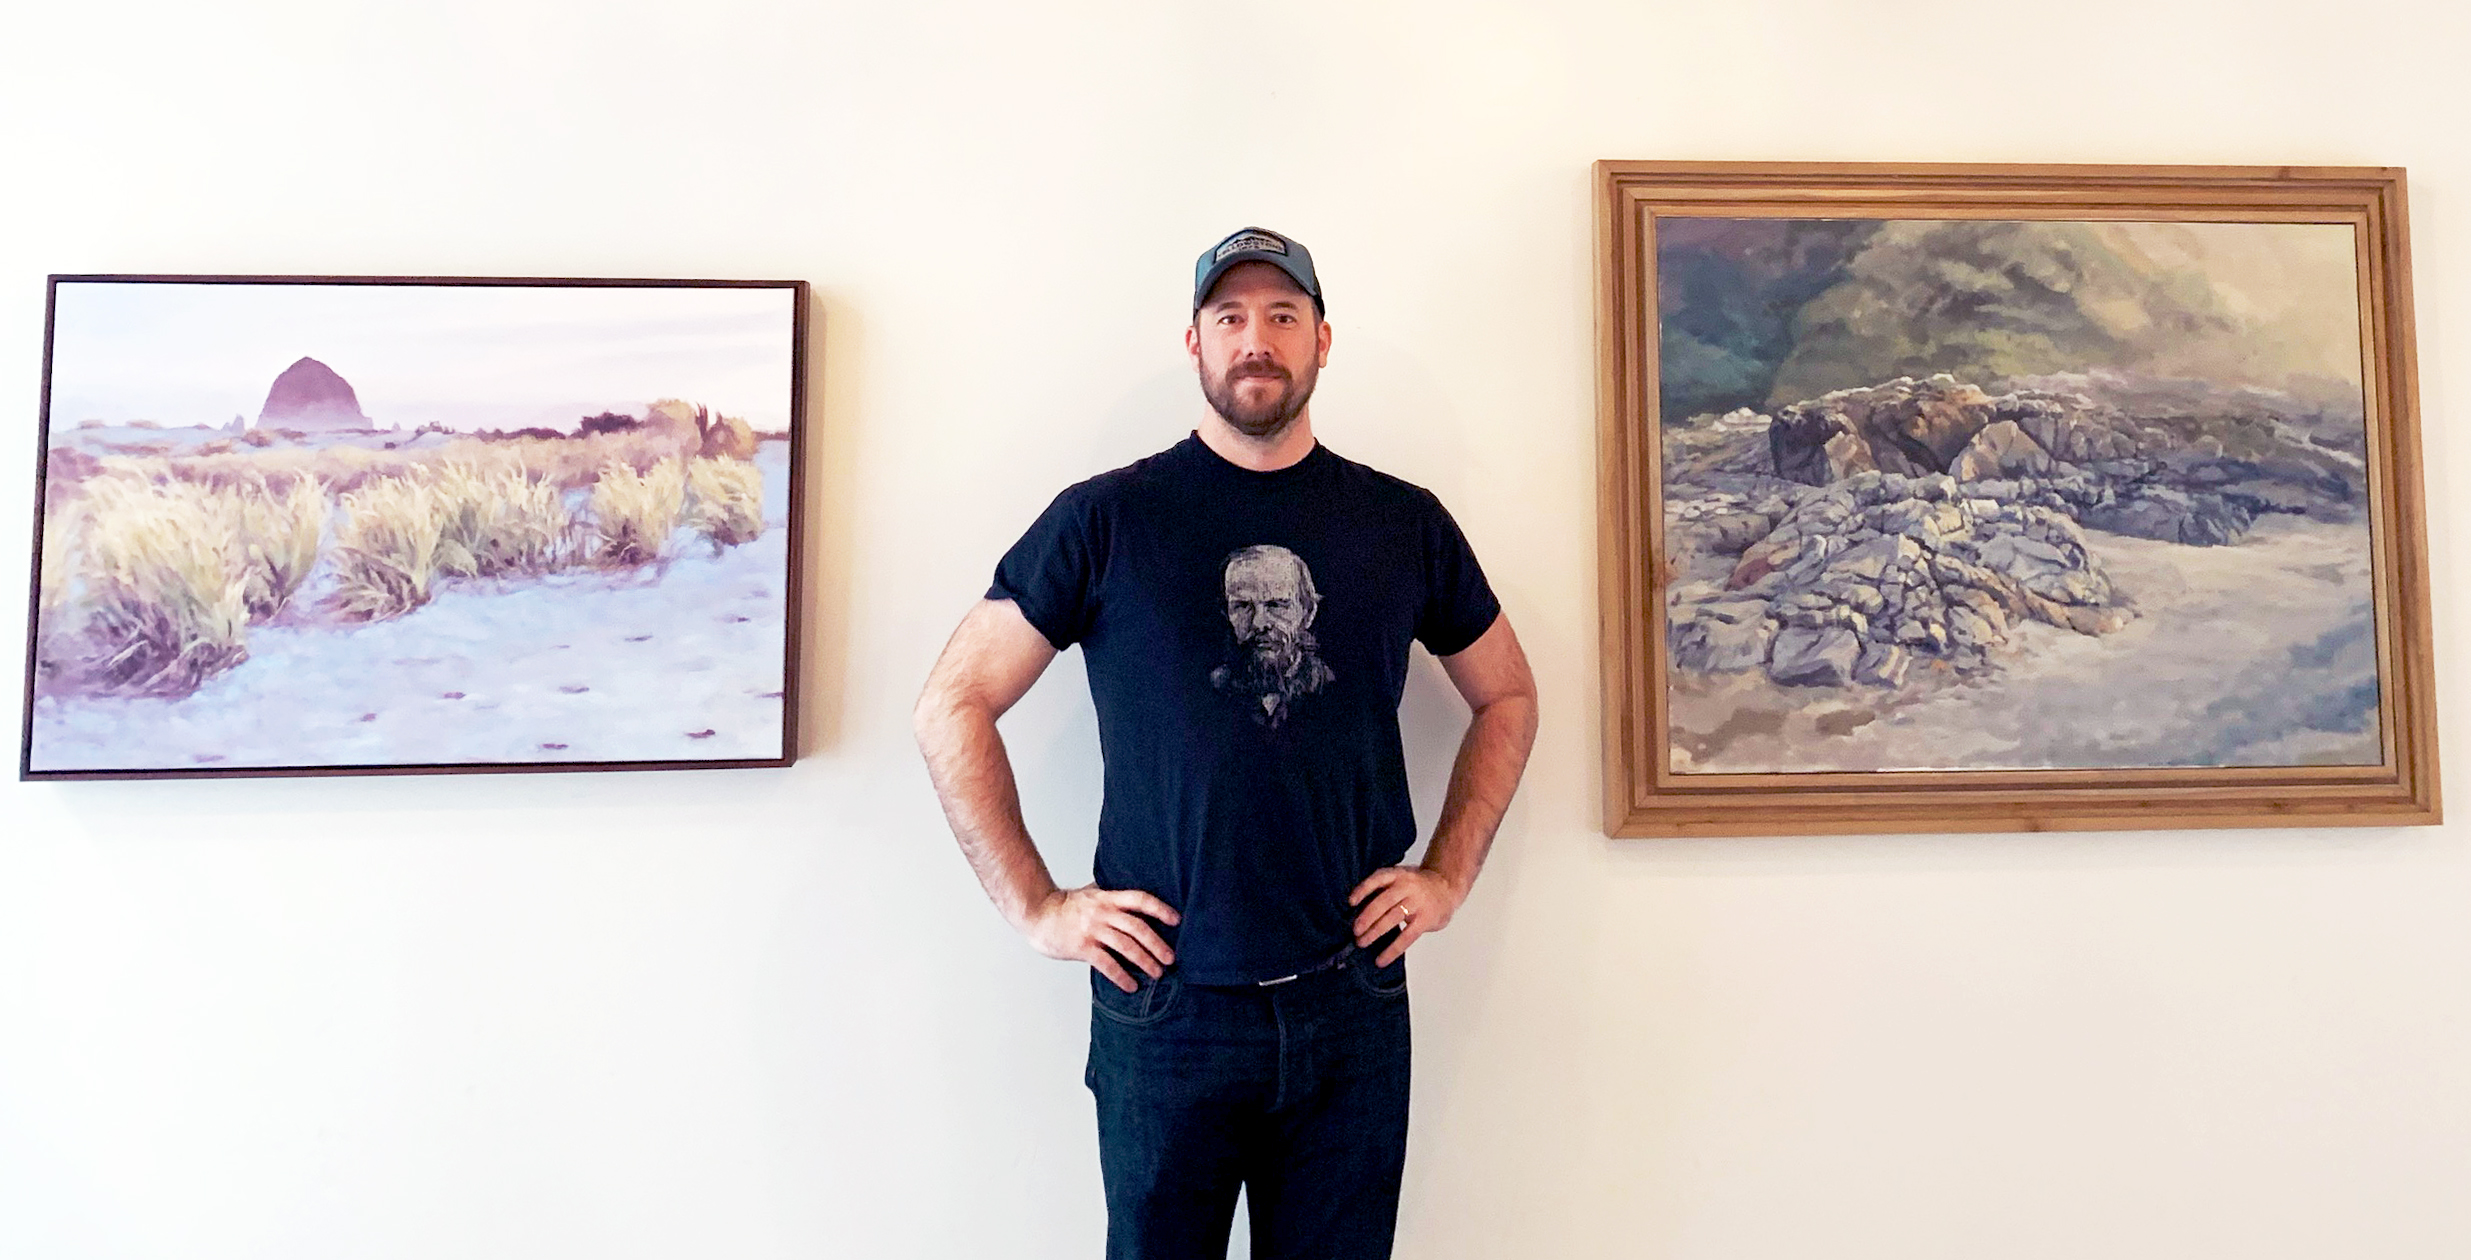
Do your works need frames? Do they need hanging wire? Do you have time to sign any of them, if they are not signed? Getting some of the missing stuff together can really help make your show feel much more professional. I recommend frames, as I think they really add to the whole experience for the viewer. Even if you go with simple framing, your paintings will benefit from that extra amount of attention and impression.
Get the hardware needed to hang. I prefer actual hanging nails that have the peg framework. These are much sturdier than just a nail in the wall. These are also known as drywall hanging nails or picture hanging nails. Using hanging wire will also help with the hanging process. The packaging usually has a nice diagram for how to attach the wire to the frame in a way that creates a nice sturdy knot.
Hanging the Work

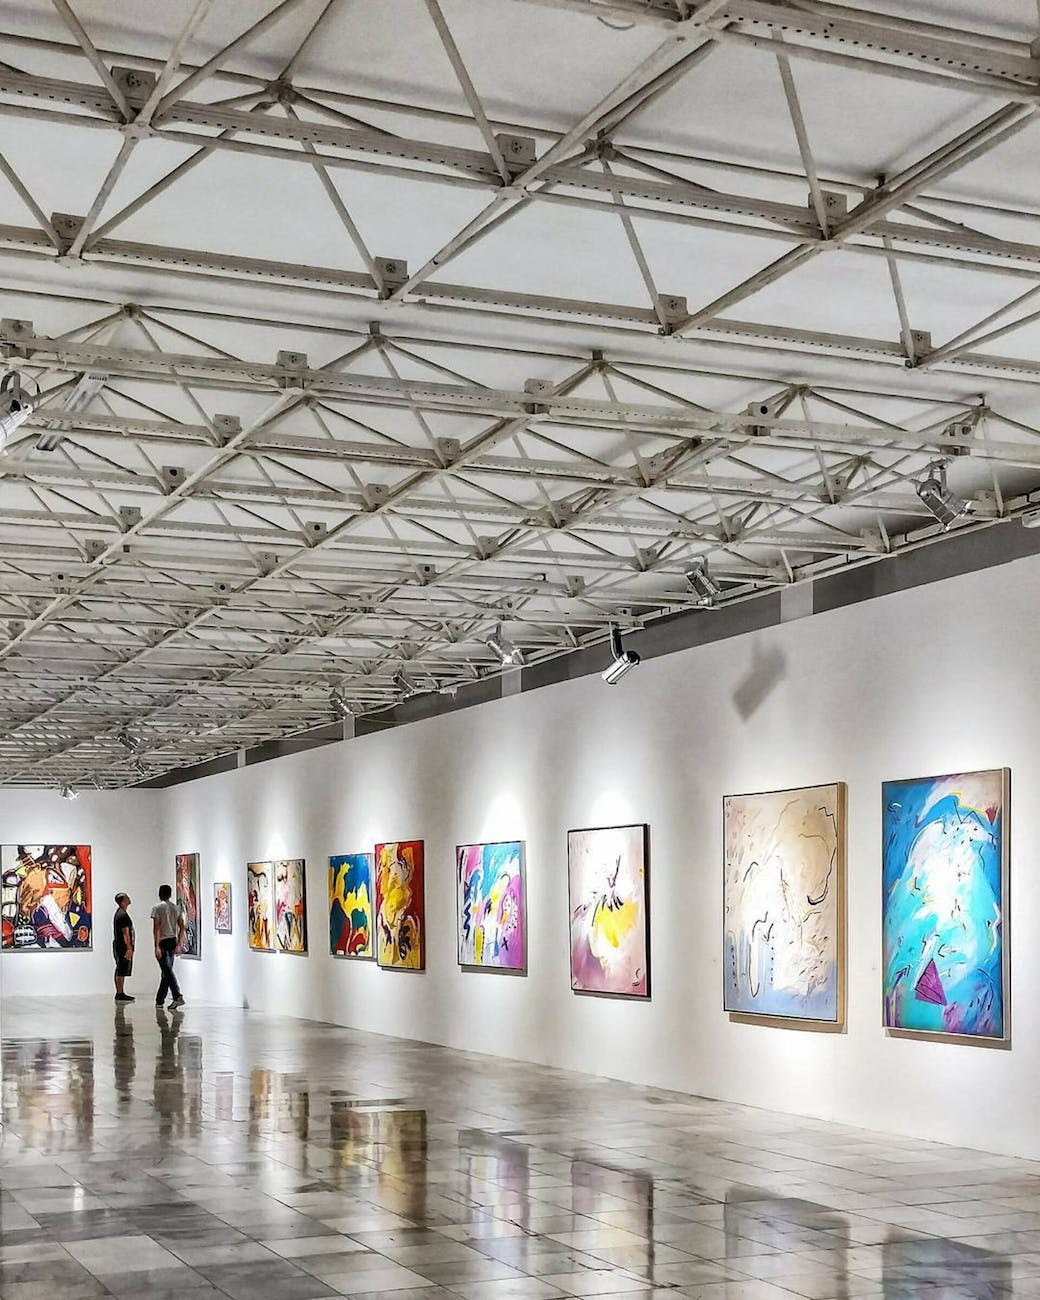
There are many ways to hang your work. The first thing you should do, though, is place your work where you want it around the space, without hanging anything yet. Having everything arranged will help you visualize how you want the work displayed, as far as sequencing goes. Which paintings will look best next to each other?
Now it is time to decide what height you want your pieces to be. I would recommend that whatever choice you make, you continue with it throughout the show, as a formula. I prefer hanging all of the paintings along an imaginary straight line through the middle of each piece. This allows for comfortable viewing angles. I like to have the middle of the pieces sitting about 5 1/2 feet off the ground. This is an average height, so it’s comfortable for most.
The way to hang this properly is fairly simple. You need to decide upon an average height for the center (such as the aforementioned 5 1/2 feet or 66 inches). Then measure from the middle of the canvas to the point at which the nail will be pulling the hanging wire taught. Find the distance there are add it to the average height. For instance, if the distance between the center of my painting and where the nail will pull the wire taught is 10 inches, I would add it to the 66 inches. I would then put the hanging nail in the wall at 76 inches. The painting would then be placed and should hang in such a way that the middle of the painting will hit that 66 inch mark. If you are not using wire, but brackets, measure vertically from the midpoint of the painting to the brackets and make that your extra distance.
Always have a level with you to ensure the painting will hang correctly and look even on the wall. Make sure that each piece has enough space between itself and the ones next to it. Stand back from the wall for this. Imagine you are a member of the public. What distance feels correct and comfortable for viewing? Are the pieces too crowded? Would I be standing right against somebody viewing a different piece?
Information!

Having the information next to the piece is not as hard as it may sound. There are many ways to do this. A traditional way is to print out individual information on separate thick pieces of cardboard or foamboard. This can be difficult to do without the right printer, so I suggest printing on sticker paper and then either adhering it to thicker paper or applying it straight to the wall. Find a spot near the relevant piece and place it where it feels most correct. Remember, try to stay consistent throughout the entire space and with each individual piece.
Have a blurb about yourself, either on a stand or on the wall. Have some things that people can take with them, such as postcards or business cards. You can even have a price sheet, if you are interested in selling your work. If you have a reception, you can set aside a space for selling prints or other merchandise. You will most likely want somebody other than yourself to man the sales area, as you want to be present to talk about your work and chat with guests.
Ready?

This little guide should be enough to get you going in the right direction or give you some options to think about. Remember that you may have to stay flexible and creative with how you display your show. Ultimately, you’re putting up some of your work for others to look at and enjoy. What is going to make that a memorable, interesting, or fun experience for them?
Take some time to enjoy the moment and relax. Congratulations on your art show!